Terry Austin’s off-road vision made real in red
Terry Austin had been looking for something to replace his elderly and well-travelled 4WD ute. He was looking to switch out to petrol, and to have a vehicle he could use for adventure and overlanding. He was likewise was lucky enough to be able to dedicate a vehicle to the fun drives, and lucky enough to find a wee gem of a ‘shorty’ Pajero. Terry takes up the story:
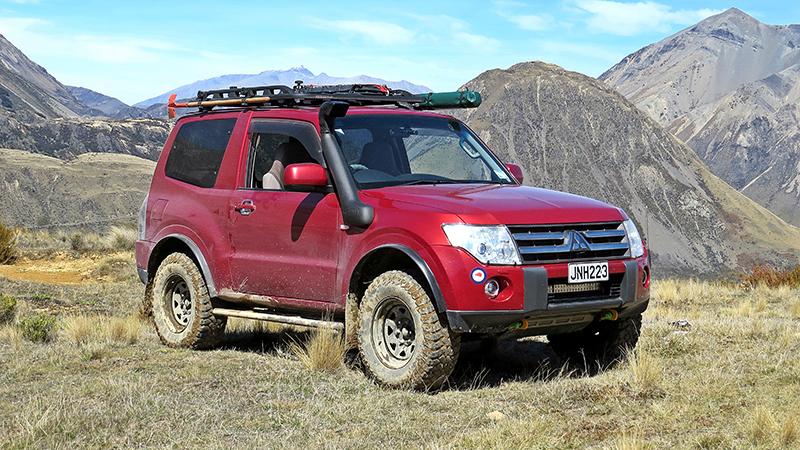
I had been looking around to replace my old diesel 4WD and spied a low mileage 2007 Mitsubishi Pajero NS petrol 3.0 litre.
Some might wonder why I would go to petrol? Well having owned a couple of diesel 4WDs for 15 years, I was tired of the extra maintenance required so decided to hunt out a petrol 4WD that would not be my daily runner. The deal was done and I became the second owner of a tidy SWB Pajero with well under 100km on the clock. The previous elderly driver was unlikely to have done any off roading – well that was soon to change!
First thing to arrange was the basics: a complete fluid change, diffs, transmission, radiator flush. I find it best practice to start from the fluids as you then have a base-line to go from with the maintenance history.
Then a trip to Scobie Tyres to upgrade to Maxxis AT700s from the HT tyres, keeping to 16-inch rims.
The standard battery was replaced with a new one with a bit more grunt. I then went through NZ4WD magazine looking for Pajero upgrades and found an interesting article about Nigel Collings’ 2008 Pajero project that had been undertaken by the team at Opposite Lock New Zealand in Christchurch. A phone call to the guys followed, with an appointment where we formulated a plan for some modifications to be made to make the Pajero better suited for off road adventures. I also planned to keep any mods within factory specification to avoid having to certify anything that may became problematic down the track so to speak. Luckily Nigel’s Pajero was still in the shop with a few more modifications being made in between his 4WD trips. I got a first-hand view of the extensive mods that the team at Opposite Lock were still working on – well I might use just a few of them, there is a budget to consider for these things!
First thing I did myself was to remove the right rear seat and seat belt to allow more storage space for my gear. I kept the left rear seat in just in case I would have a third passenger as this seat being smaller actually didn’t take up much room when folded upright. As the Pajero already came fitted with a removable towbar, I searched online and found a spare wheel relocation kit that would raise the spare wheel by about 50mm to allow better access when fitting a trailer over the tow ball under the spare tyre. Interesting thing was the kit which consisted of a steel plate with three higher positioned wheel bolts was designed in Australia and available from Mitsubishi NZ. It was cheaper to buy it from NZ at the time to avoid the shipping cost. I also removed the tin sump guards in preparation of fitting new improved ones.
Once the Pajero was handed over to Opposite Lock, the real work began. The suspension was upgraded to Dobinson coils and heavy duty gas shocks all around giving me the standard 50mm lift. I did not want to fit a bull bar or winch which I knew would add more weight up front but did have some lower plastic panelling cut away and a steel bracket fitted inside the lower front guards to strengthen the --plastic area. This has since worked well off road. A Safari-brand snorkel was added which was a very tidy fit into the engine bay and the right hand indicator relocated which still looked factory. Breather kits were fitted to the diffs including the transmission and tidily installed with filters accessible next to the engine bay firewall. A two-piece radiator and transmission steel sump guard 4.5mm thick was bolted into place. For recovery purposes for both myself and assisting other’s rated tow points were fitted onto the front chassis either side – not much space to work within so was glad I didn’t do this work myself. Later I did fit rated recovery points to the rear myself. It was important to ensure the bolts were rated too. For extra storage purposes I had a Rhino rack fitted which was customised to be fitted into the roof factory slots by rivets and could be repositioned as required by undoing some nuts to slide into place.
Once the work was completed, I picked up the Pajero and back at home added the necessary accessories. An equipment box in the rear of the vehicle with associated strops, extra tool kit, extra bottle jack with a Ridge Ryder base plate and portable compressor. This included recovery board brackets for the Tred boards plus extra boards I added over time. Having used mine a few times now I have to say recovery boards are a fantastic piece of kit. A fixed awning bracket was installed but later upgraded to the new Ironman 4X4 NZ quick release bracket which proved invaluable: if my trip was to be through tight bush it was simple enough to leave the awning at home. I fitted aftermarket headlight covers to reduce the chance of damaging the lens pushing through scrub. I completed a number of 4WD trips through Canterbury and Marlborough high country and found the vehicle performed well including through a few river crossings. It was on one particular trip that I got hung up on a nice rock that left the alloy side steps looking a bit munted. So back at home I dismantled both sides and threw them away! Again, a quick call to Opposite Lock and I had a pair of custom steel rock sliders installed which proved their worth.
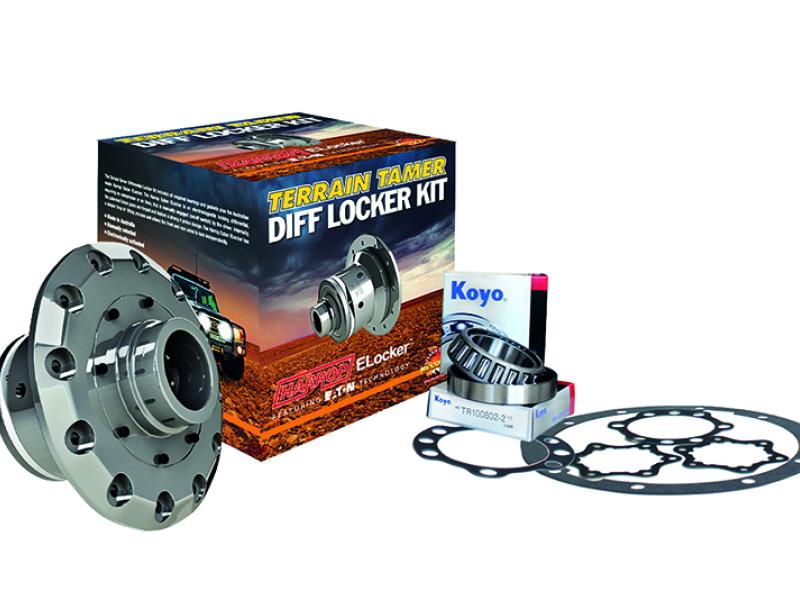
As time went on and further trips developed, I decided that another upgrade was in order so had Scobie Tyres replace my ATs with Maxxis MT tyres on steel rims. The extra weight on the road was noticeable and the associated tyre whine took some getting used to but when off-road they performed very well in some tricky situations. To keep things tidy for a WoF, I had fitted extended rubber wheel flares though the tyres appear compliant without them. I then considered fitting diff locks as my model Pajero did not have them from factory as some other models do and after some conversations with other knowledgeable 4WD experts settled on ordering in from Aussie an Eaton rear locker via Ironman NZ. No thanks to Covid 19, the Eaton locker eventually arrived some months later down the track and was eventually installed. Off-road the rear locker proved very good in conjunction with the MT tyres in providing that extra traction as required. A front led light bar was soon added which I had installed from behind the front grill beneath the number plate – nicely tucked away but still able to throw good light and so far, withstanding a number of river crossings.
Well, I think that will do for now in respect to modifications. Obviously there is no real limit depending on your budget! At the start I made up my mind to keep the appearance of my Pajero as standard as possible and why not? Sure, I have a few small dents and matagouri scratches to show for it but life would be dull if it wasn’t a red colour!